About Us
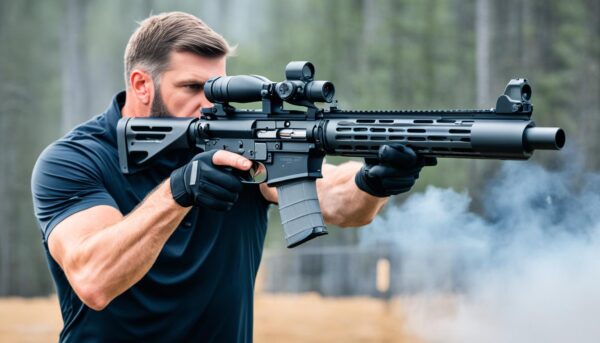
Discover our mission to provide comprehensive resources and support for individuals interested in carrying short-barreled rifles or tactical equivalents in public spaces. Learn how we empower enthusiasts with knowledge, skills, and community connections to navigate the complexities of compact firearms responsibly.
Product Reviews
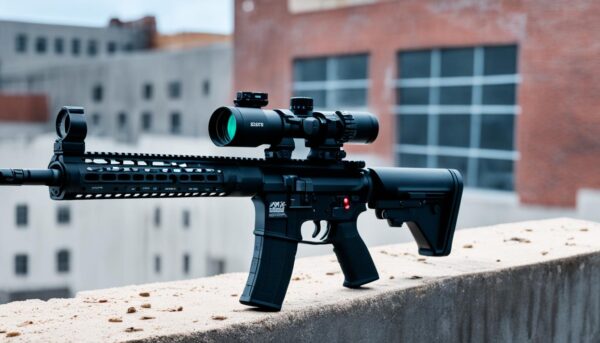
Browse through in-depth reviews of essential gear and equipment curated specifically for enthusiasts of compact firearms. Find detailed analyses, pros and cons, and practical recommendations to help you make informed decisions about your gear selection.
Shop
Explore our curated selection of premium products and merchandise designed for enthusiasts of short-barreled rifles and tactical gear. From morale patches and training knives to AR15 upper receivers and more, find everything you need to elevate your tactical carry experience.
-
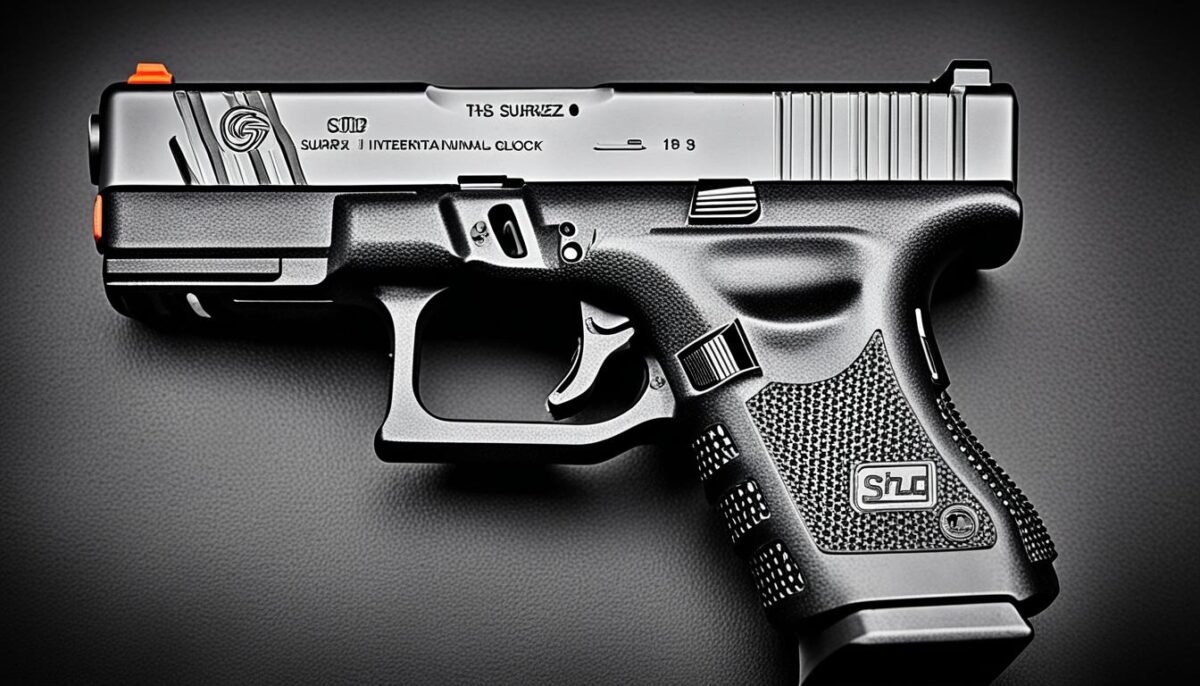
 Airsoft Handgun Rental$129.00
 -
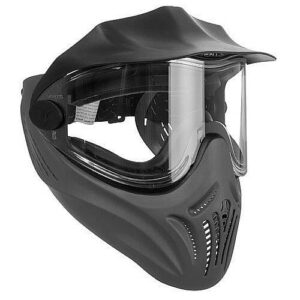 Airsoft Mask Rental$199.00
 -

Latest Articles
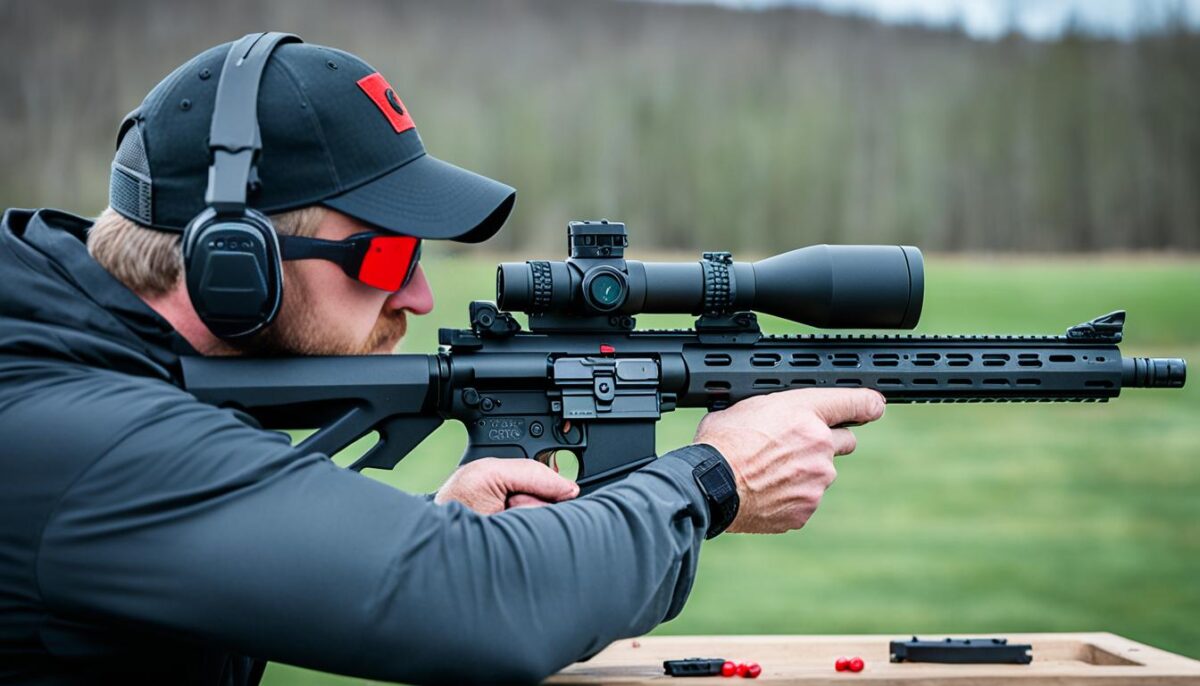
Stay up-to-date with our latest insights, tips, and recommendations on everything related to short-barreled rifles, tactical gear, self-defense tactics, and more. Dive into a wealth of informative articles written by experts and practitioners in the field.